How to Dye Leather Bag for a Custom Look
Leather Bag Dyeing Essentials
Importance of Leather Dyes
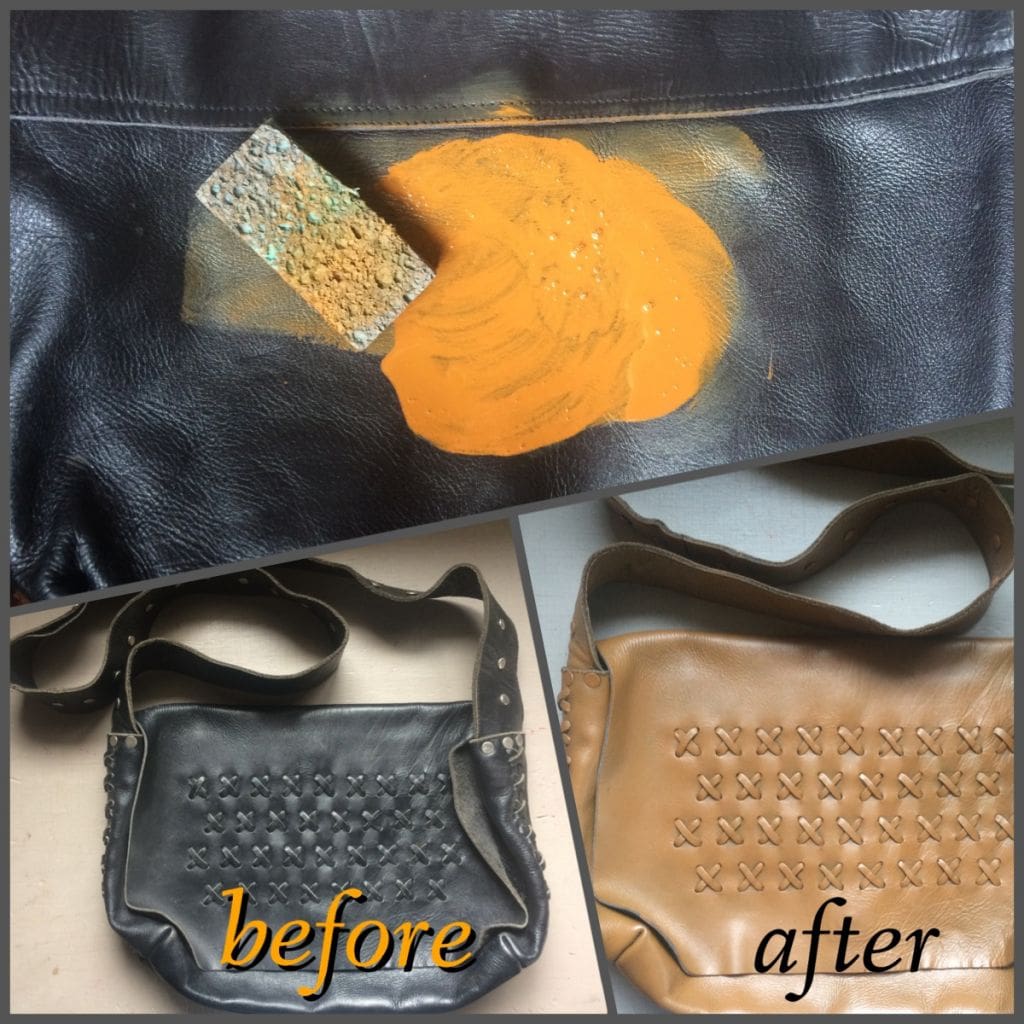
Leather dyes play a crucial role in transforming your leather bag, giving it a fresh, customized look. Unlike leather paints that simply coat the surface, leather dyes penetrate deeply into the fibers, ensuring a rich and lasting color change (International Leather Club). The following table outlines the key differences between leather dyes and paints:
| Comparison | Leather Dye | Leather Paint |
|---|---|---|
| Penetration | Deep into fibers | Surface coating |
| Durability | High | Moderate |
| Finish | Natural and rich | Opaque and vibrant |
Choosing the Right Dye Type
Selecting the appropriate dye type is essential for achieving the best results on your leather bag. Here are some common types of leather dyes:
- Basic Dye: Suitable for most leather types, offering easy application and moderate durability.
- Alcohol-Based Leather Dye: Known for quick drying properties and deep penetration, ideal for detailed and precise work.
- Oil-Based Leather Dye: Provides long-lasting color with superior moisture resistance, perfect for items exposed to varying conditions (POPSEWING).
Consider the type and condition of your leather bag when choosing the dye. Visiting our guide on how to restore leather bag can provide further insights.
For more details on topics related to leather bags, including cleaning methods and maintenance tips, explore our articles on how do you clean a leather bag and how to clean coach leather bag.
Preparing Your Leather Bag
Before you begin the dyeing process, it’s crucial to properly prepare your leather bag. This ensures that the dye adheres well and results in an even finish. The preparation involves cleaning and pre-treating the leather, followed by hydrating it for a smooth dyeing process.
Cleaning and Pre-Treating the Leather
The first step in preparing your leather bag is thorough cleaning. Dirt, oils, and previous treatments can interfere with dye absorption, leading to patchy results. Here’s how you can clean and pre-treat your leather bag:
-
Remove surface dirt: Start by wiping the leather bag with a clean, dry cloth to remove any loose debris.
-
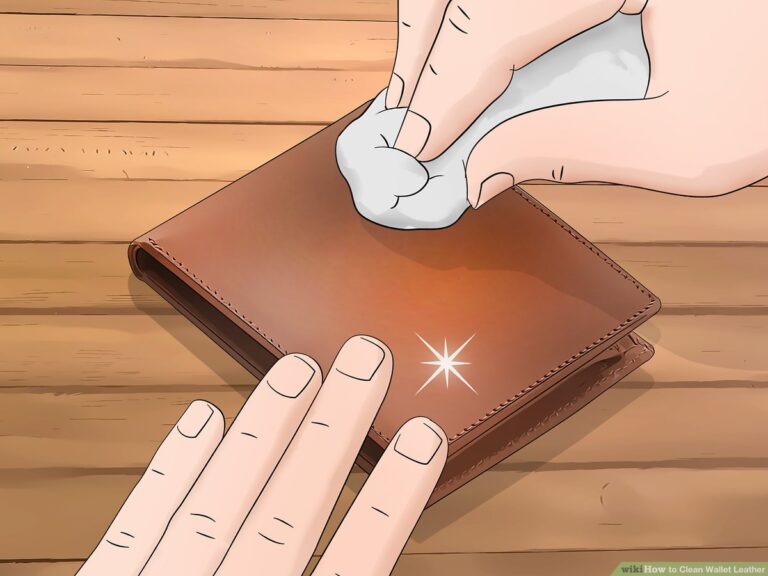
Use a leather cleaner or mild soap: Apply a small amount of leather cleaner or mild soap mixed with water to a damp cloth. Gently rub the surface of the bag in circular motions. Avoid soaking the leather, as too much water can damage it. For specific cleaning tips, you can refer to our guide on how do you clean a leather bag.
-
Dry your bag: After cleaning, use a dry cloth to wipe off any excess moisture. Let the bag air dry completely at room temperature, away from direct sunlight or heat sources. This is important to prevent any splotches when you start dyeing.
-
Remove stains: For stubborn stains, a specialized leather cleaner may be required. You can learn more about this in our article on how to remove ink from leather bag.
| Step | Action |
|---|---|
| 1 | Wipe with a dry cloth |
| 2 | Apply leather cleaner or mild soap |
| 3 | Air dry the leather |
| 4 | Treat stubborn stains |
Hydrating for Smooth Dyeing
After cleaning the leather, hydrating it slightly can result in a smoother finish when applying the dye. Using water can interfere with the dyeing process and cause splotchiness; oil is a better alternative for achieving an even dye job (Instructables):
-
Select a suitable oil: Opt for a light leather conditioner or natural oils such as jojoba or neatsfoot oil. Avoid using heavy oils, as they can make the leather too supple and affect the dye absorption.
-
Apply the oil: Use a clean cloth to apply a small amount of oil to the leather. Rub it in gently, ensuring even coverage. This step nourishes the leather, making it more receptive to the dye.
-
Let the oil absorb: Allow the oil to penetrate the leather for at least 30 minutes. Wipe off any excess oil with a clean cloth. The leather should feel slightly more pliable but not greasy or overly soft.
To dive deeper into the care and maintenance of leather bags, check out our resources on how to store leather bags and how to restore leather bag.
By properly cleaning and hydrating your leather bag, you set a solid foundation for the dye to bond well with the material. These preparatory steps enhance the effectiveness of the dye, ensuring a professional and lasting finish for your custom-colored leather bag.
Dyeing Techniques for Leather Bags
When it comes to giving your leather bag a custom look, understanding the right dyeing techniques is essential. Various methods can be employed depending on the desired finish and the type of dye used. Here, we’ll explore different application methods and how dilution can create custom finishes.
Application Methods
- Dip Dyeing:
- Ideal for large leather pieces.
- Dilute the dye with alcohol (for alcohol-based dyes) and pour it into a large container, such as a cake pan.
- Submerge the leather bag, ensuring it is fully coated.
- Remove the bag and pat it dry with a towel to avoid any excess dye (Leatherworker Forum).
- Spray Dyeing:
- Use a paint gun or an airbrush for even application.
- This method allows for precise control and consistent coverage, making it perfect for avoiding blotchy finishes (Leatherworker Forum).
- Block Dyeing:
- Utilize a cloth pad wrapped around a wooden block.
- Apply the diluted dye with this pad to create subtle variations and enhance natural marks on the leather.
- This technique can add a unique character to your leather bag (Leatherworker Forum).
- Hand Application:
- Use old t-shirt fabric for applying dye to flat surfaces.
- Utilize q-tips for precise application around edges and seams.
- Ensure the leather is completely dry after dyeing to prevent smudging (Instructables).
Dilution for Custom Finishes
Diluting dyes can result in different finishes on leather. Full strength dye gives bold, distinct colors, while diluted dye provides a more subdued or antique appearance.
- Dilution Ratios:
- Water-based dyes: dilute with water.
- Alcohol-based dyes: dilute with alcohol.
- Oil-based dyes: dilute with oil.
- Effects of Dilution:
| Dilution Level | Finish Type | Technique Example |
|---|---|---|
| Full Strength | Bold and Vibrant | Direct hand application |
| 1:1 Dilution | Muted and Subdued | Dip dyeing for antique finish |
| 1:2 Dilution | Light and Airy | Block dyeing for subtle variations |
Dilution can be adjusted based on your desired outcome. To achieve a custom finish that enhances the natural textures of your leather bag, start with a low dilution and gradually increase it until you achieve the desired look.
By mastering these dyeing techniques, you can transform your leather bag into a unique and stylish statement piece. For additional care and maintenance tips post-dyeing, visit our articles on how to clean a leather bag or how to restore leather bag.
Finishing Touches and Maintenance
Sealing and Protecting
Once you have dyed your leather bag, it’s crucial to seal and protect the color to ensure its longevity. Here are some effective products and techniques:
-
Sealing Products: Use Fiebings Acrylic Resolene for a high-gloss finish or Bee Natural Leather Finish for a more subtle sheen. These products will lock the dye into the leather and prevent it from bleeding onto your clothes (Instructables).
-
Application: Apply the chosen sealant in a thin, even layer using a sponge or brush. Let it dry thoroughly before applying additional coats if needed. Buff the finish with a cotton cloth for a smooth and polished look.
| Product Name | Finish Type | Usage |
|---|---|---|
| Fiebings Acrylic Resolene | High-Gloss | Sealing and protection |
| Bee Natural Leather Finish | Subtle Sheen | Sealing and protection |
| Fibbing’s Tan Kote | Gloss/Matte | Preventing dye transfer, final coat |
For additional steps on how to color leather bag and techniques, check out our detailed guide.
Post-Dye Care and Maintenance
Proper post-dye care is essential for maintaining the appearance and durability of your leather bag. Follow these steps for optimal results:
-
Initial Care: After dyeing, let the bag dry naturally away from direct heat or sunlight. This helps to set the dye and prevent uneven patches.
-
Softening: To soften the leather, work it while slightly damp. Rub it over an edge like a table edge or 2×4 to break down the fibers, making the leather more pliable.
-
Regular Maintenance: Clean your bag regularly to keep it in top condition. Use a damp cloth for daily cleaning and a special leather cleaner for deeper cleans. For tips on how do you clean a leather bag, refer to our comprehensive article.
-
Conditioning: Apply a leather conditioner every few months to keep the leather hydrated and prevent cracks. This is especially important for dyed leather, which can become dry over time.
For more information on maintaining your leather bag, including how to store leather bags and how to restore leather bag, explore our related articles.
By following these steps, you can ensure your custom-dyed leather bag remains beautiful and functional for years to come.

